Introduction
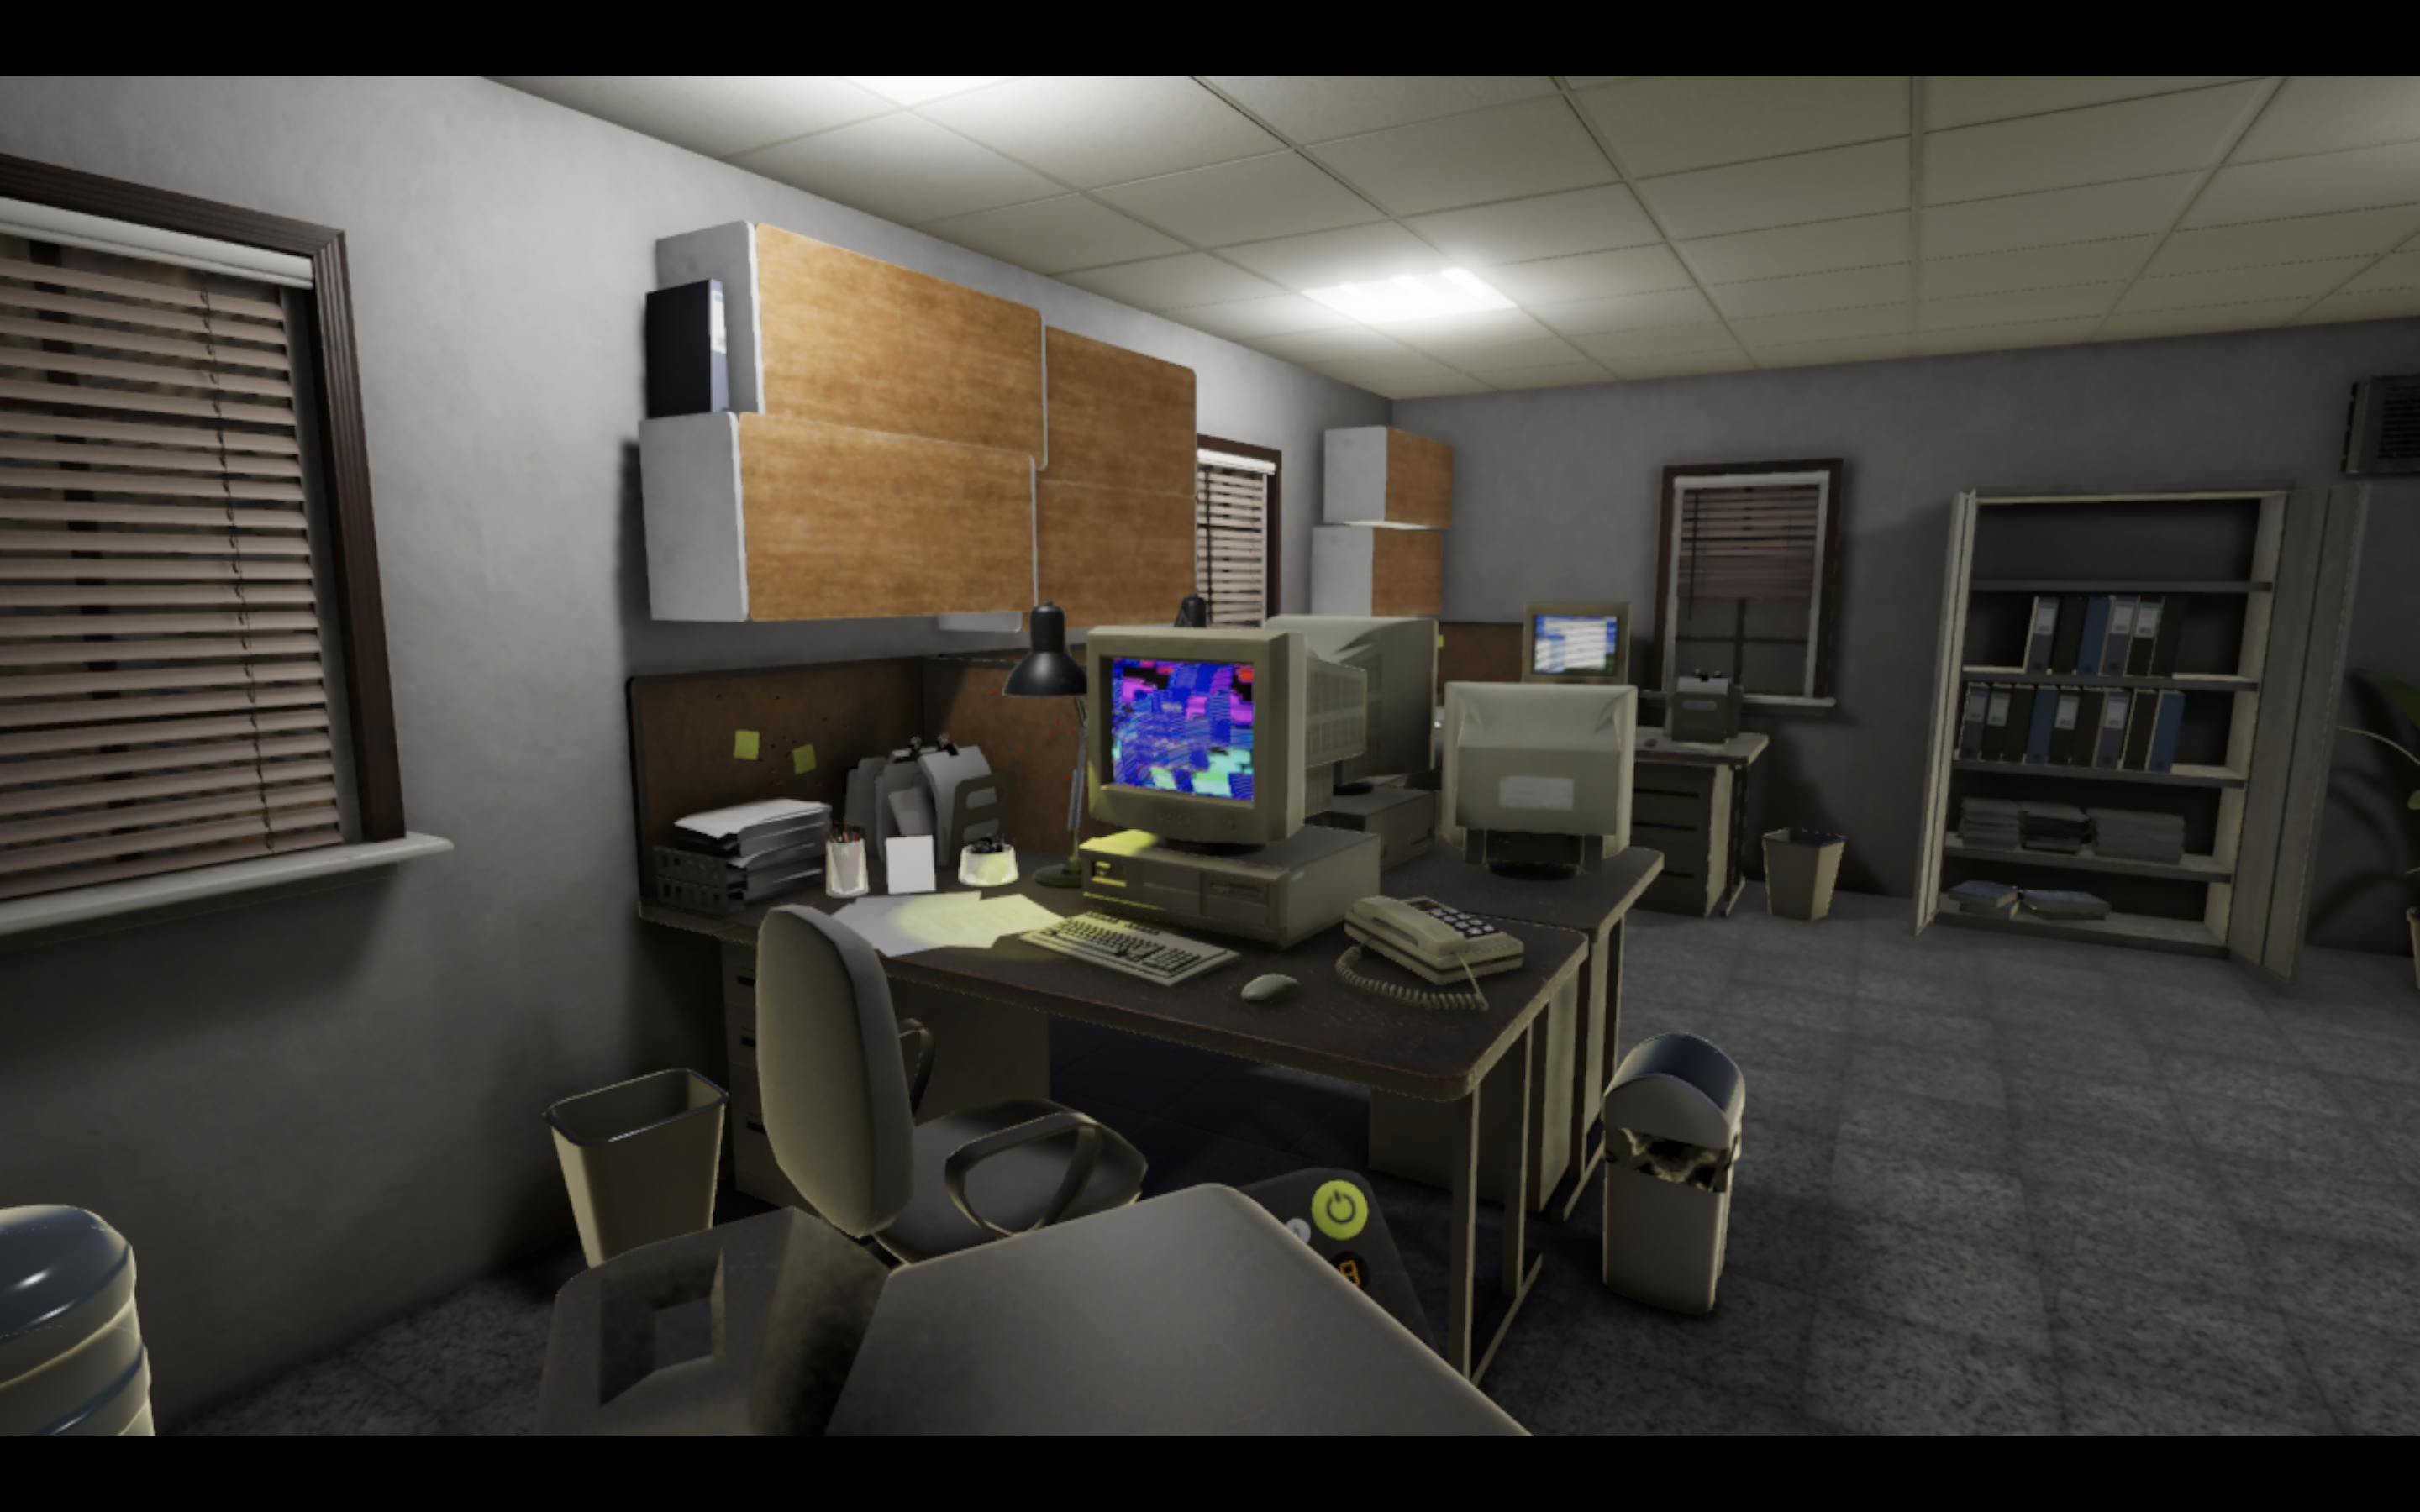
In my game Quality Assurance, I needed a system to tag objects with colors and later sample that information for gameplay mechanics. Crucially, this information needed to be hidden from the player, so it must be rendered off-screen.
This article describes how I implemented a custom color tag encoding pass in Unity URP, using ScriptableRendererFeature and MaterialPropertyBlock.
Development
Setting Up Per-Category Tags
To encode tags efficiently, I use MaterialPropertyBlock to assign a color representing the object’s category tag:
private void ApplyEncoding(Color tagColor)
{
    MaterialPropertyBlock block = new MaterialPropertyBlock();
    block.SetColor("_TagColor", tagColor);

    foreach (MeshRenderer renderer in meshRenderers)
    {
        if (renderer != null)
            renderer.SetPropertyBlock(block);
    }
}Here, each object in a category shares the same tag color. This ensures objects in the same category are encoded consistently during the render pass.
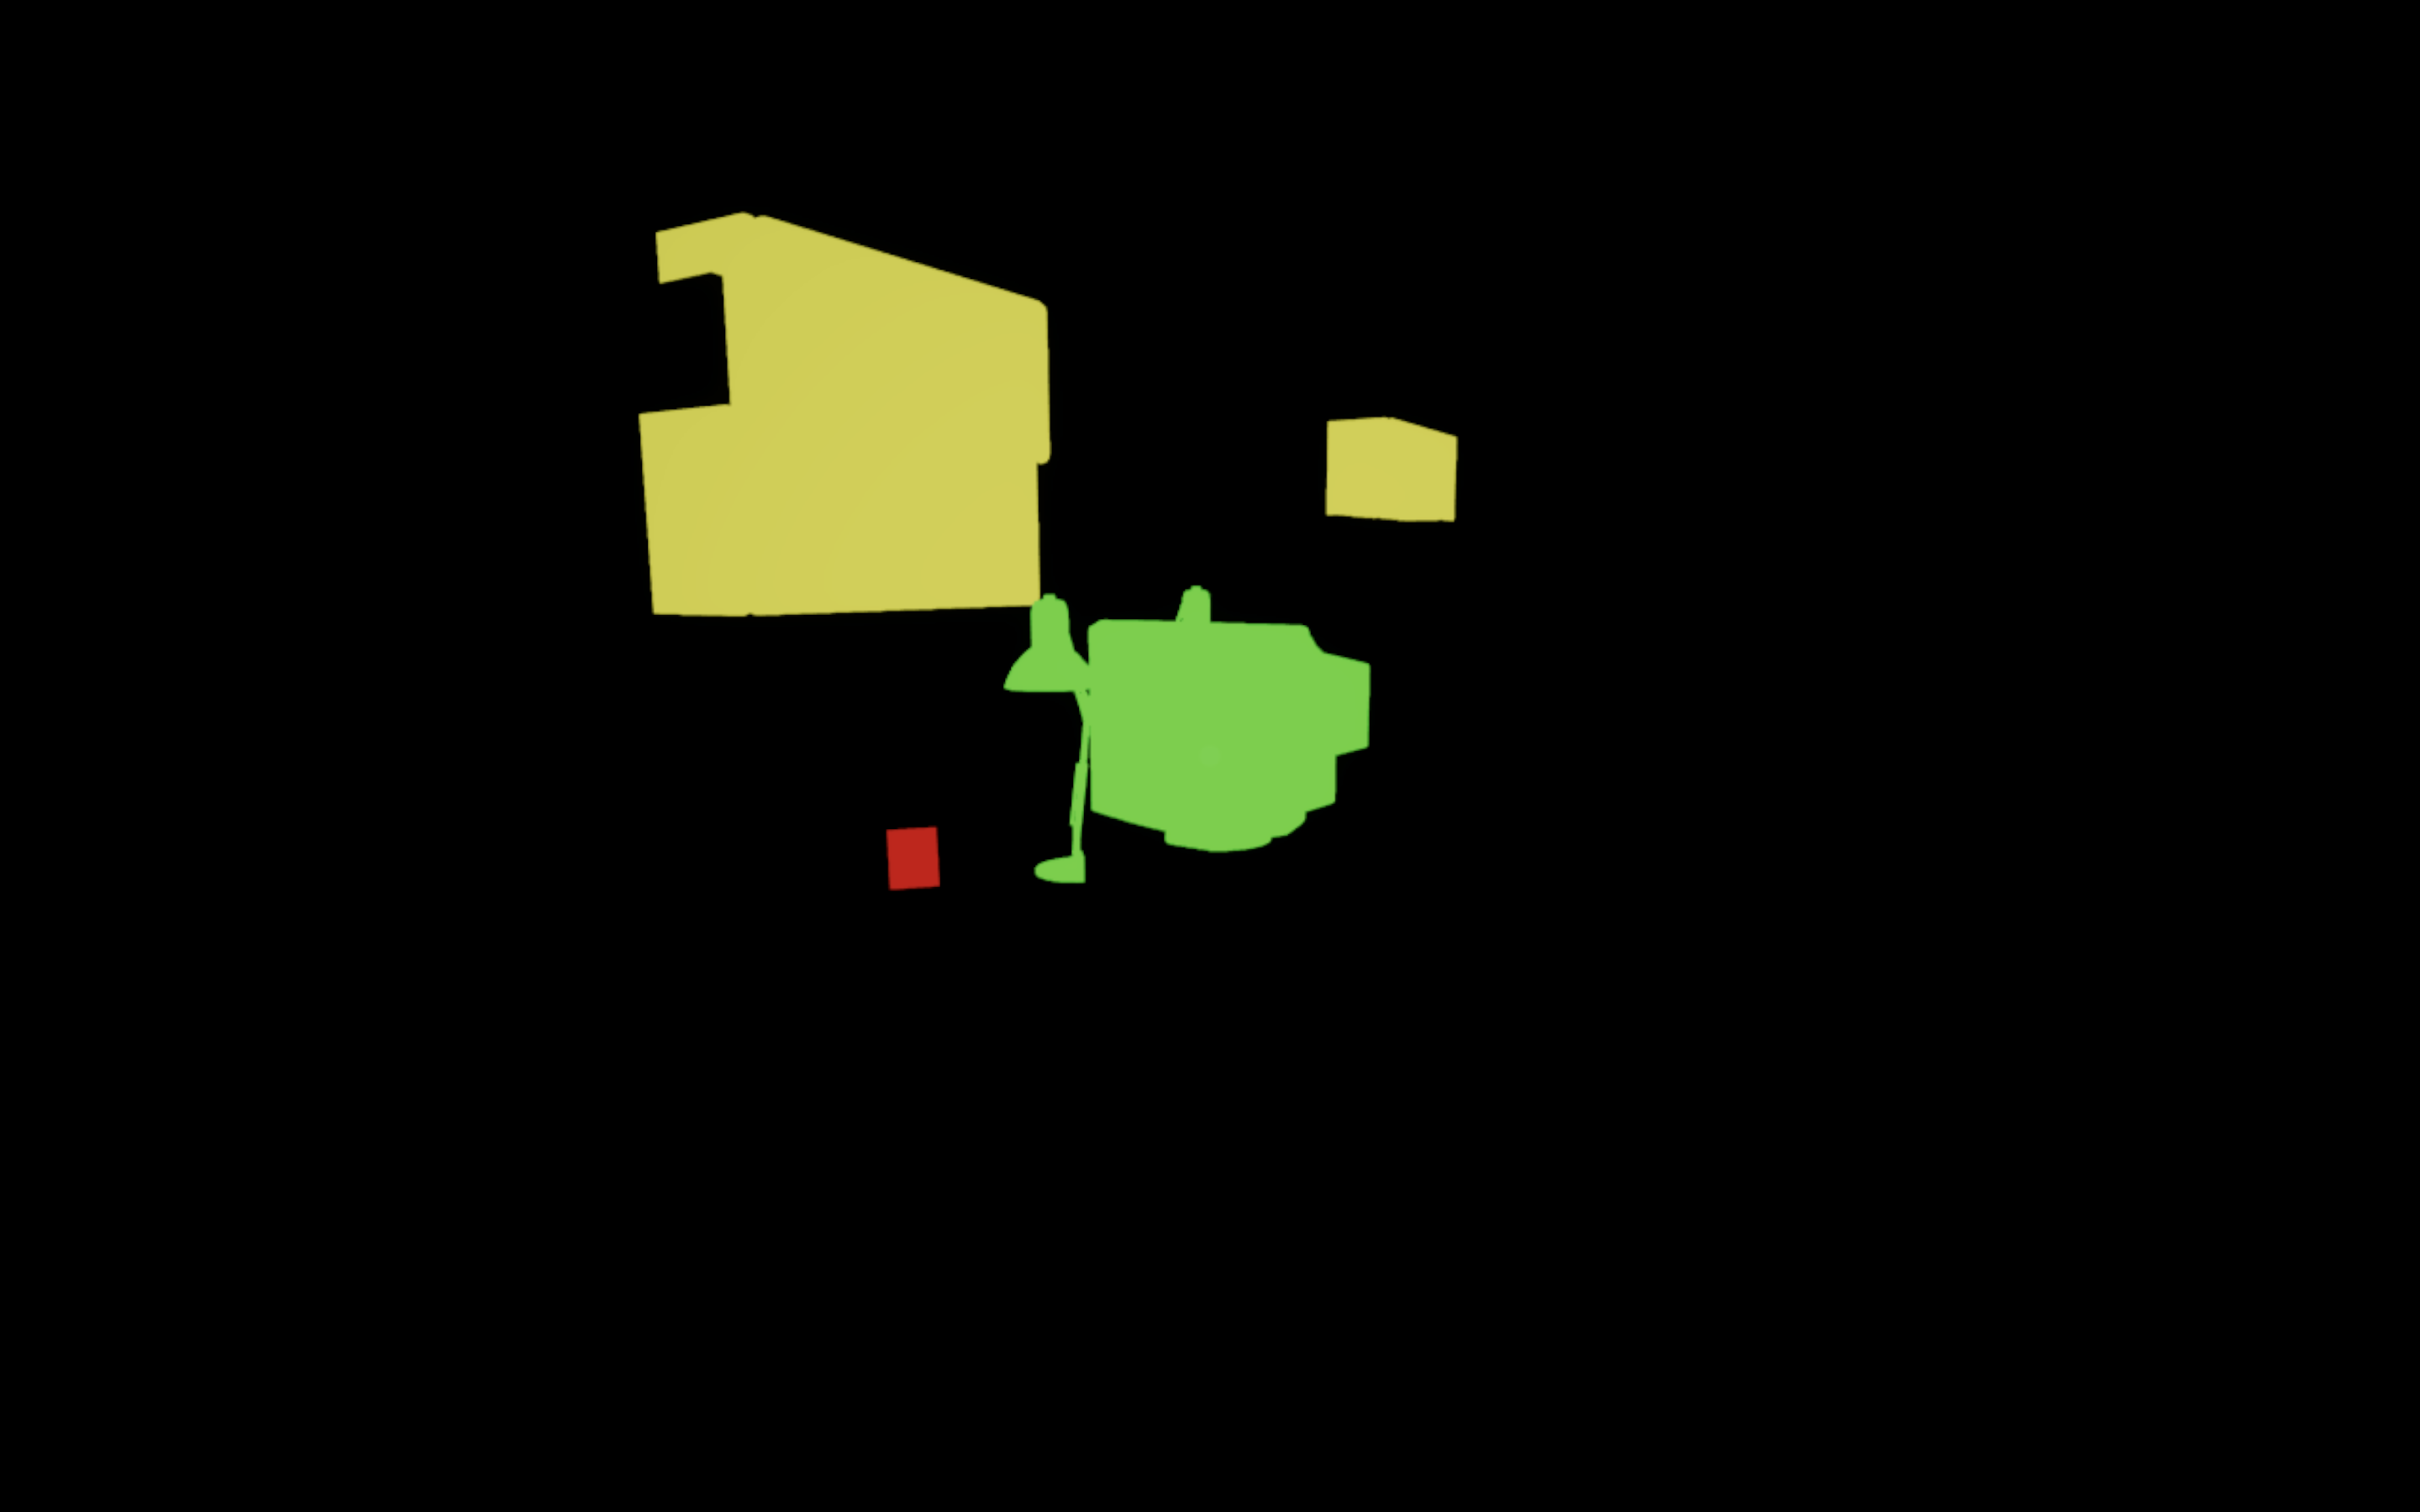
Rendering Tags Off-Screen
To sample tags later, we need to render only the tag information to a render target. This requires:
- A Custom Unlit Shader that outputs only the tag color.
- A Render Feature that overrides the object’s material with this tag material.
Here’s a simple shader for the tag material:
Shader "Unlit/TagColor"
{
    Properties
    {
        _TagColor ("Tag Color", Color) = (0,0,0,1)
    }
    SubShader
    {
        Tags { "RenderType"="Opaque" "Queue"="Geometry" }
        LOD 100

        Pass
        {
            Name "TagPass"
            tags { "LightMode"="SRPDefaultUnlit" }

            ZWrite On
            Cull Off
            Blend Off

            HLSLPROGRAM
            #pragma vertex vert
            #pragma fragment frag
            #include "Packages/com.unity.render-pipelines.universal/ShaderLibrary/Core.hlsl"

            CBUFFER_START(UnityPerMaterial)
            half4 _TagColor;
            CBUFFER_END

            struct Attributes
            {
                float4 positionOS : POSITION;
            };

            struct Varyings
            {
                float4 positionHCS : SV_POSITION;
            };

            Varyings vert(Attributes IN)
            {
                Varyings OUT;
                OUT.positionHCS = TransformObjectToHClip(IN.positionOS.xyz);
                return OUT;
            }

            half4 frag(Varyings IN) : SV_Target
            {
                return _TagColor;
            }
            ENDHLSL
        }
    }
}The Render Feature
Next, we create a ScriptableRendererFeature that renders all tagged objects using the tag material:
public override void RecordRenderGraph(RenderGraph renderGraph, ContextContainer frameData)
{
    if (tagMaterials == null) return;

    var cameraData = frameData.Get<UniversalCameraData>();
    var resourceData = frameData.Get<UniversalResourceData>();
    var renderingData = frameData.Get<UniversalRenderingData>();

    var shaderTags = new[] { new ShaderTagId("UniversalForward"), new ShaderTagId("SRPDefaultUnlit") };

    var desc = new RendererListDesc(shaderTags, renderingData.cullResults, cameraData.camera)
    {
        rendererConfiguration = PerObjectData.None,
        renderQueueRange = RenderQueueRange.opaque,
        sortingCriteria = SortingCriteria.CommonOpaque,
        overrideMaterial = tagMaterials[ctType]
    };

    using (var builder = renderGraph.AddRasterRenderPass<PassData>("Color Tag Pass", out var passData))
    {
        passData.rendererList = renderGraph.CreateRendererList(desc);

        builder.UseRendererList(passData.rendererList);
        builder.SetRenderAttachment(resourceData.activeColorTexture, 0, AccessFlags.Write);

        builder.SetRenderFunc((PassData data, RasterGraphContext ctx) =>
        {
            ctx.cmd.DrawRendererList(data.rendererList);
        });
    }
}Key points:
- Objects are rendered off-screen using the tag material.
- Each object writes its category or object tag as a color.
Later shaders or scripts can sample this render target for gameplay mechanics like selection, masking, or highlighting.
Using the Render Target
Once rendered, the tag buffer can be used:
- To determine object categories for gameplay logic.
- To create masks for post-processing effects.
- To handle dynamic interactions without exposing information to players.
For instance, you can render it just once per frame to a RenderTexture and immediately disable the pass to avoid showing it in-game.
Limitations
Some caveats with this technique:
- sRGB Color Noise
- Colors like pure RED (1,0,0) may be interpreted differently in sRGB (0.8,0,0).
- This limits the number of unique categories you can safely encode.
- Category Limit (Caused by sRGB Color Noise)
- With 7 colors (RED, BLUE, GREEN, YELLOW, MAGENTA, CYAN, WHITE), you can encode 7 categories.
- You can combine colors for more categories, but this increases complexity and error risk.
- Skybox Interference
- Skyboxes may introduce unwanted pixels in the tag render.
- Workarounds include using a custom opaque skybox or enclosing the level in a sphere.
Conclusion
This system provides a simple, flexible way to encode per-object tags in Unity URP.
While it has limitations in color precision and category count, it’s easy to implement and allows off-screen metadata rendering for gameplay mechanics like selection, masking, and procedural effects.